


Can you believe this was a lime green tablecloth from Target?? On sale for $1.48 at that! Now it's an adorable baby changing mat, that you can just wipe right clean! Here is how you can make one for yourself or for a cute baby shower gift.
Materials:
Vinyl Tablecloth (any size) Mine will make 3 of these with the dimensions I used
Bias Tape - Extra Wide, double fold 1/2" (or you can make your own)
Ribbon
Flannel or Felt (I used flannel)
 | |
| Some of those other coordinating items are a sneak peak at a couple more tutorials coming up soon! |
Alright lets get down to business...step 1: Fold your tablecloth in half and cut your tablecloth so you will have 2 pieces. I used the dimensions 26x20 because after rounding out and adding bias tape it is always much smaller. My tablecloth came with rounded corners so once I cut to my dimensions I then had some corners rounded and some not. If your tablecloth has no rounded corners, use a bowl to trace around and cut. I used my rounded corners and lined them up on the other straight edges and trimmed. Also my tablecloth was not exactly straight, so I had to cut a few edges straighter also.


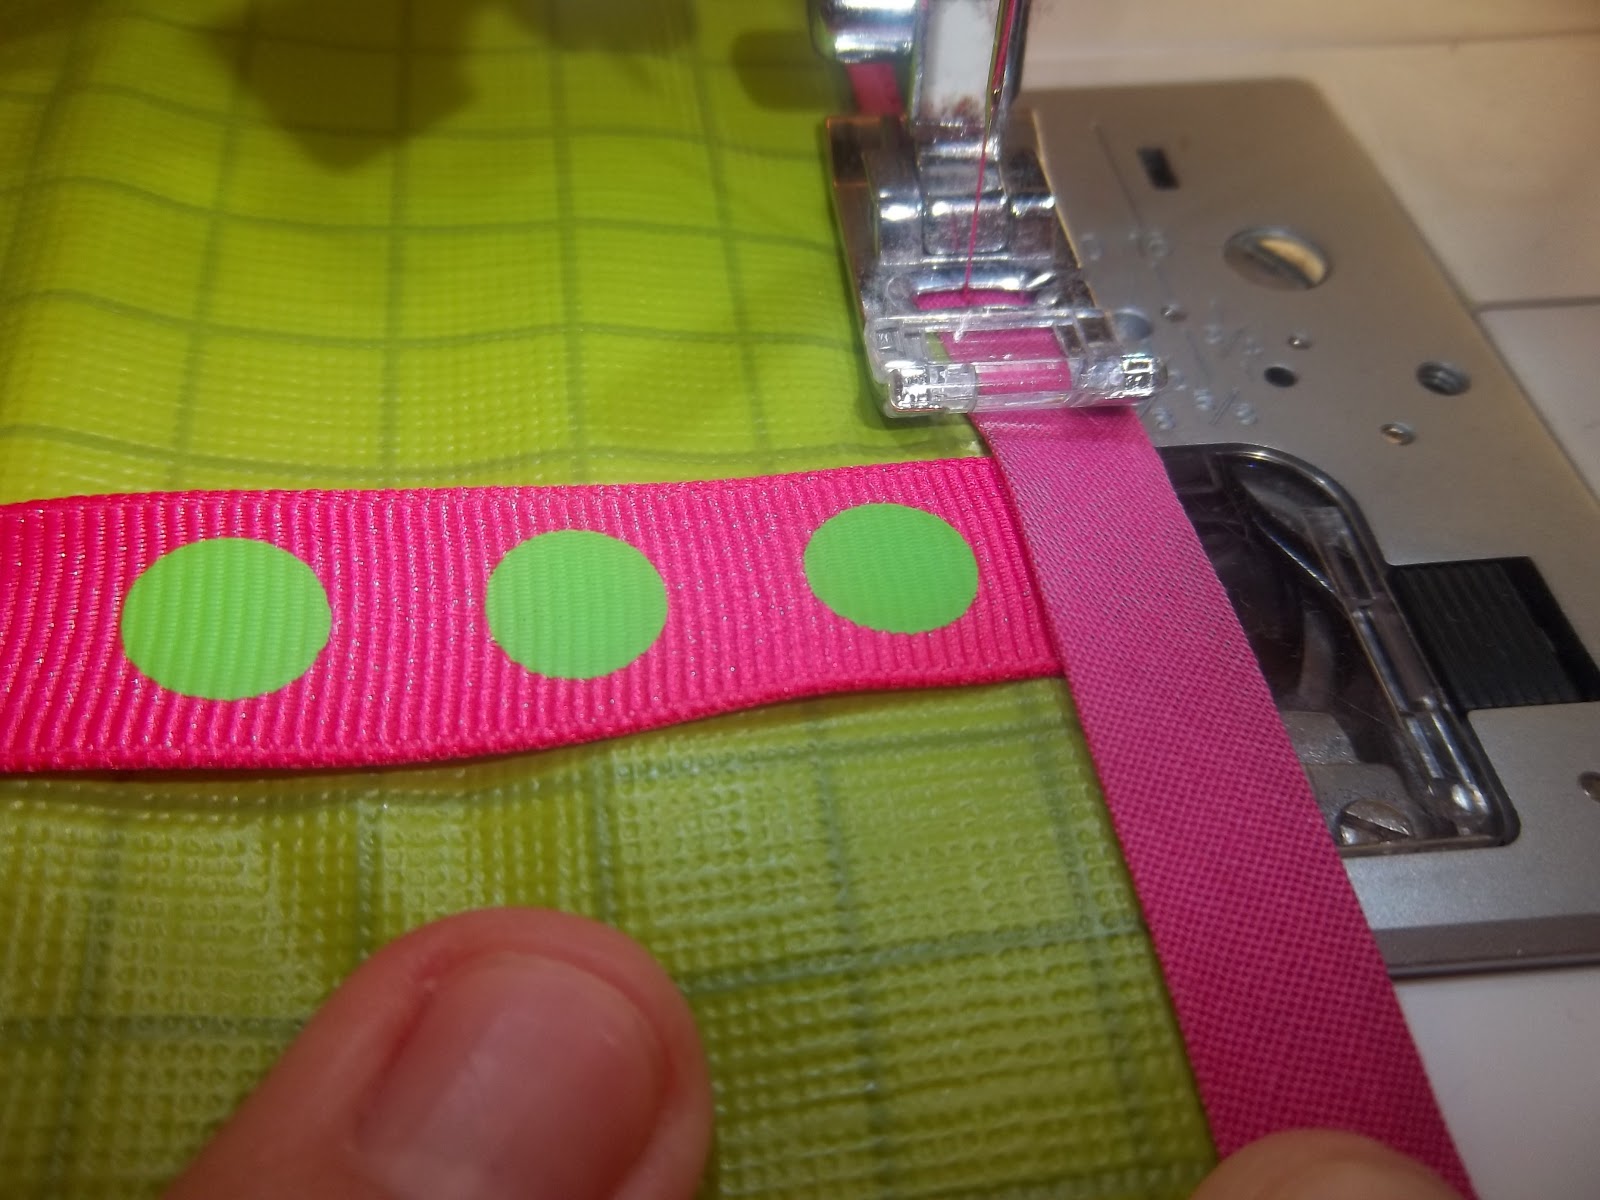
Now we can start adding the bias tape. In this project we will not be adding bias tape the "correct way" we will just be sandwiching it into the double fold and sewing. I just pinned my bias tape in the beginning and then just continued, but if you are a beginner I suggest pinning all the way around. Bias tape has one side that is longer than the other, make sure you have the shortest width on top and the longer on the bottom so when you are seeing your stitches on the top you can be sure and catch all the layers on the bottom.
Start your bias tape on the longer edge of your project.


Now continue sewing your bias tape all the way around. When you get back to where you started, trim off your bias tape about an inch past where your other end starts. Fold your bias tape end as neatly as possible and cover your other end by about a 1/2" and sew over. (Make sure you backstitch to hold your stitching in place)


What a cute blog! I just started learning to sew myself, and started a blog about it... www.fiveminutesmoreplease.blogspot.com. I especially love sewing vintage-inspired stuff! :)
ReplyDeleteOh, I love your changing mat! You did a great job, thank you for sharing :)
ReplyDeleteXOXO,
Mags
Thanks guys! Will be adding more tutorials this weekend! Shannon I'll go check out your blog!
ReplyDeleteCute! Funny how crafters see "supplies" the same way....like vinyl table cloths!
ReplyDeleteYou're so right Ashley! There are so many similar things with just tweaks here and there now! II
ReplyDelete